Rules To Refrigerate & Freeze By
- Packaged, raw chicken can be refrigerated in its original wrapping in the coldest part of the refrigerator for 48 hours after purchase. If it is not to be used in 48 hours, freezing is recommended. See table below.
- Cooked, cut-up chicken is best when refrigerated for two days or less; whole, cooked chicken for three days or less.
- Store fresh, uncooked chicken on a low shelf of the refrigerator so it does not drip onto other items.
- For convenience and to prevent freezer burn, wrap separate pieces in foil or plastic bags. Then place all wrapped or bagged pieces into a larger freezer bag or foil wrap. Press all air out of the bag/foil package and label package with contents and date frozen.
Home Storage Temperatures & Maximum Times
EXAMPLE
Chicken Type
Refrigerator (40°F or below)
Freezer (0°F or below)
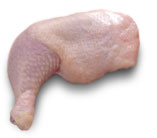
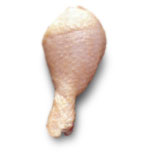
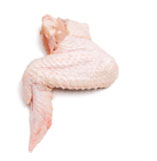
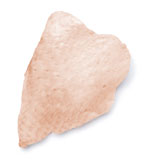
FRESH, RAW CHICKEN
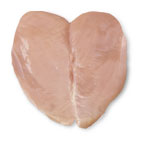
Chicken Parts (Breasts, Drumsticks, etc.)
Refrigerator: 1 to 2 days
Freezer: 9 months
Chicken Sausages
Refrigerator: 1 to 2 days
Freezer: 1 to 2 months
Giblets
Refrigerator: 1 to 2 days
Freezer: 3 to 4 months
Ground Chicken
Refrigerator: 1 to 2 days
Freezer: 3 to 4 months
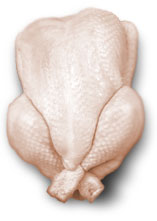
Whole Chicken
Refrigerator: 1 to 2 days
Freezer: 1 year
FROZEN CHICKEN
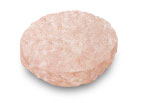
Chicken Patties
Refrigerator: Not recommended
Freezer: 3 to 4 months
Individually Quick Frozen Chicken Breasts
Refrigerator: 1 to 2 days
Freezer: 3 to 4 months
COOKED CHICKEN (leftovers)
Chicken Parts (plain)
Refrigerator: 3 to 4 days
Freezer: 4 months
Chicken Parts with gravy, broth
Refrigerator: 1 to 2 days
Freezer: 6 months
Chicken Patties
Refrigerator: 1 to 2 days
Freezer: 1 to 3 months
Cooked Chicken Dishes
Refrigerator: 3 to 4 days
Freezer: 4 to 6 months
Fried Chicken
Refrigerator: 3 to 4 days
Freezer: 4 months
Whole Roasted Chicken (Oven or Rotisserie)
Refrigerator: 3 to 4 days
Freezer: 4 months